
Discover how internal tooth bleaching can effectively whiten nonvital teeth that have undergone root canal treatment. Learn more!
Internal Tooth Bleaching: What Patients Need to Know
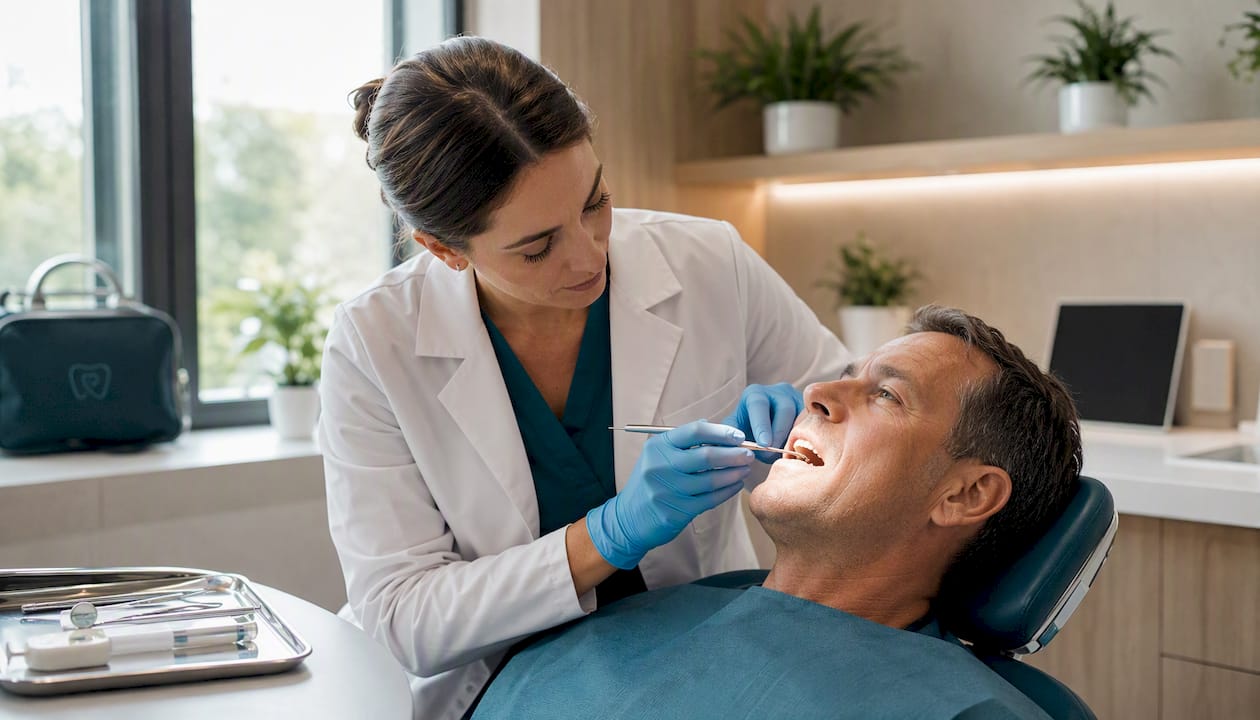
Internal tooth bleaching is a dentist-performed procedure that whitens a nonvital (root-canal treated) tooth from the inside out, and yes, it reliably works for the kind of dark, grayish discoloration that follows root canal therapy. The clinical term is intracoronal bleaching, and it targets staining inside the pulp chamber and dentinal tubules, which is exactly where over-the-counter whitening strips and trays cannot reach. According to StatPearls on NCBI, the procedure is indicated for intrinsic discoloration caused by trauma, pulp necrosis, or retained blood products in a tooth that has already been root-canal treated. The most widely used approach is the walking bleach technique, where a bleaching agent is sealed inside the tooth between visits.
The single most important caveat: this procedure must be done by a trained dentist who places an effective cervical barrier before any bleaching agent goes in. That barrier is what separates a safe, successful outcome from the procedure’s most serious complication, external cervical root resorption. The American Dental Association (ADA) and clinical reviews consistently reinforce that patient selection, preparation, and barrier technique are what determine whether this treatment succeeds long-term.
Pro Tip: If your tooth darkened after a root canal, do not try to fix it with whitening toothpaste or store-bought kits. Those products work on surface enamel stains, not on the internal discoloration inside a nonvital tooth. A dentist consultation is the right first step.
Table of Contents
- Who is a good candidate for internal tooth bleaching?
- What your dentist checks and prepares before starting
- How the walking bleach technique works, step by step
- Which bleaching agents are used and how they compare
- What are the risks, and how does your dentist minimize them?
- What results can you expect, and how long do they last?
- How does internal bleaching compare to external whitening and other options?
- The evidence behind internal bleaching and how we approach it at Clayton Dental Studio
- Key Takeaways
- What patients often overlook about internal bleaching
- Ready to find out if internal bleaching is right for your tooth?
- Useful sources and further reading
Who is a good candidate for internal tooth bleaching?
Not every dark tooth qualifies, and knowing the criteria helps you have a more productive conversation with your dentist.
Primary indications
The procedure is designed for nonvital teeth — teeth that have already undergone root canal treatment — that show intrinsic discoloration. The most common causes are:
- Trauma that caused pulp necrosis and left blood breakdown products inside the dentinal tubules
- Pulp tissue remnants not fully removed during the original root canal
- Discoloration from certain irrigants or medicaments used during endodontic treatment
Anterior teeth (front teeth) are prioritized because they are visible and the aesthetic benefit is most meaningful there.
Contraindications and caution flags
Your dentist will likely decline or delay internal bleaching if any of the following apply:
- Active periapical pathology (infection or abscess at the root tip) — the root canal must be fully healed first
- An inadequate root filling seal — a poor seal means bleaching agent could migrate beyond the tooth
- Metallic staining from amalgam or certain root canal sealers — chemical bleaching often fails against metal-derived stains, and mechanical removal of the material from the pulp chamber is needed before bleaching can work
- Significant structural loss of the crown — the tooth may need a crown rather than bleaching
- Unrealistic aesthetic expectations — if the adjacent natural teeth are also discolored, bleaching one tooth in isolation may not produce a satisfying match
Your restoration plan matters too. Many patients who complete internal bleaching will still need a composite bonding or crown afterward to fully restore the tooth’s appearance and strength. Knowing that going in makes the process feel much more manageable.
What your dentist checks and prepares before starting
Think of this stage as the foundation. Skipping or rushing it is where complications begin.
Essential clinical checks
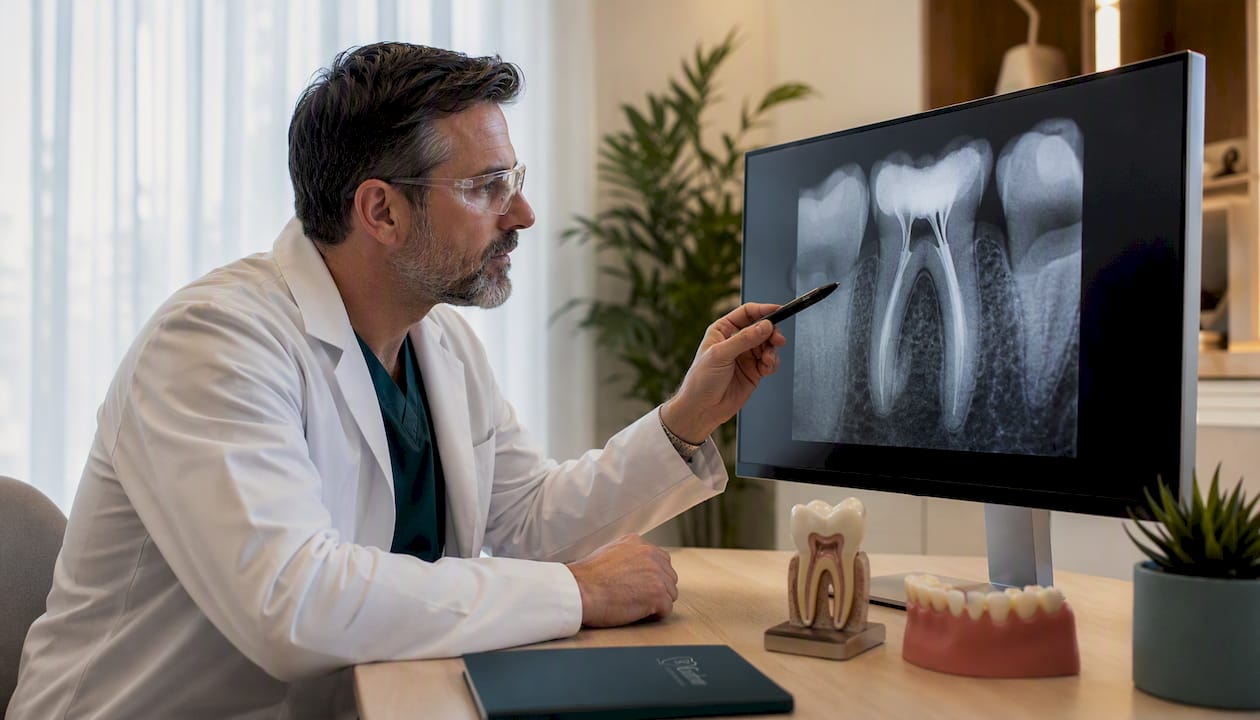
Before any bleaching agent is placed, your dentist will take a periapical radiograph to confirm two things: there is no active periapical pathology, and the existing root filling is adequate. A root filling that stops short of the apex or shows voids is a contraindication until it is redone. Your dentist will also confirm there is no active infection and that the tooth’s surrounding bone looks healthy.
Preparation steps
| Step | What happens | Why it matters |
|---|---|---|
| Remove coronal filling | Old composite or temporary material is cleared from the pulp chamber | Exposes the stained dentinal walls for bleaching access |
| Clean the pulp chamber | Residual pulp tissue and debris are removed | Ensures the bleaching agent contacts the discolored dentin directly |
| Reduce gutta-percha | Root filling material is trimmed to 2 mm below the cementoenamel junction (CEJ) | Creates space for the cervical barrier without compromising the seal |
| Place cervical barrier | Glass ionomer cement or MTA is placed at the CEJ level | Prevents peroxide from migrating into the periodontal ligament |
| Rubber dam isolation | The tooth is isolated before any agent is placed | Protects soft tissue and prevents contamination |
Pro Tip: Ask your dentist specifically what material they use for the cervical barrier. Glass ionomer cement and MTA (mineral trioxide aggregate) are both well-supported options. A 2 mm barrier placed precisely at the CEJ level is the standard most clinicians follow to reduce resorption risk.
The decision about which bleaching agent to use and whether to proceed with the walking bleach technique, inside-outside bleaching, or an in-office approach is made at this stage, based on the degree of discoloration, the patient’s schedule, and the tooth’s anatomy.
How the walking bleach technique works, step by step
The walking bleach method gets its name from the fact that the bleaching agent “walks” with you between appointments, working inside the sealed tooth while you go about your day.
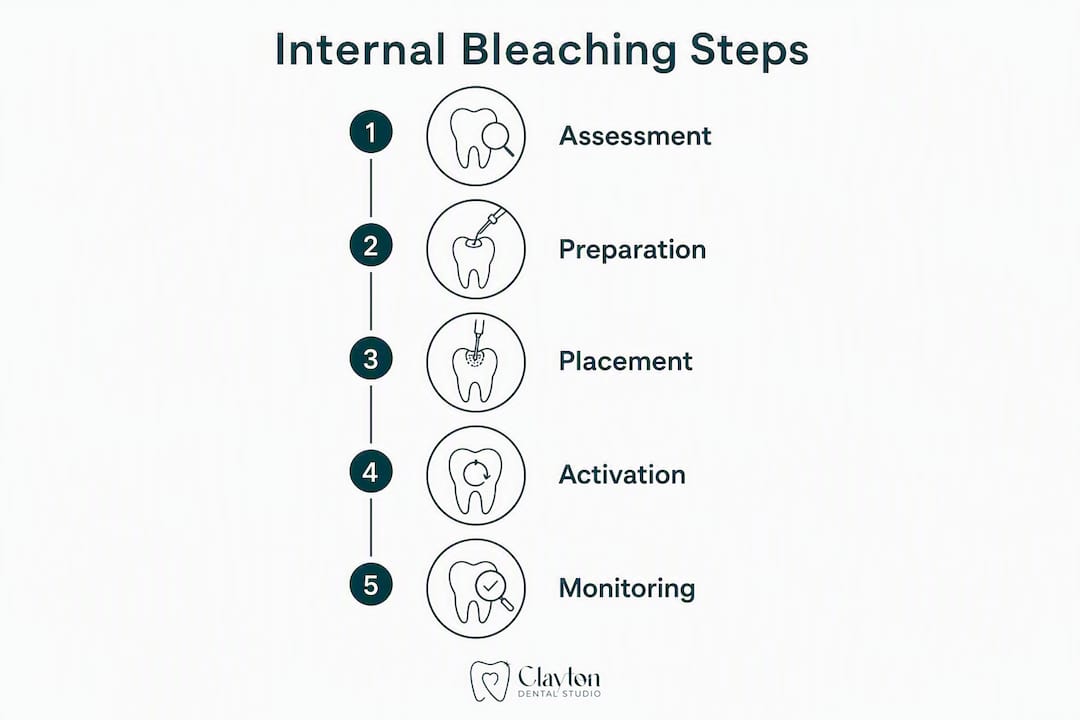
Step-by-step procedure
- Isolation: Rubber dam is placed to isolate the tooth completely.
- Access and cleaning: The pulp chamber is accessed through the back of the tooth (for anterior teeth), and any remaining coronal filling material is removed.
- Cervical barrier placement: An impermeable material, typically 2 mm of glass ionomer cement or MTA, is placed just below the CEJ to seal the root canal from the pulp chamber.
- Bleaching agent placement: The chosen agent (sodium perborate mixed with water, or a carbamide peroxide or hydrogen peroxide preparation) is packed into the pulp chamber.
- Temporary seal: A temporary filling material is placed over the access cavity to seal the agent inside.
- Patient goes home: The agent works over the next 3–7 days.
- Follow-up visit: The temporary filling is removed, the shade is assessed, the chamber is cleaned, and a fresh agent is placed if more whitening is needed.
- Repeat as needed: Most cases require multiple exchanges, with the dentist monitoring shade every 1–2 weeks until the target color is reached.
- Final seal: Once the desired shade is achieved, the pulp chamber is cleaned and sealed with a permanent or semi-permanent restoration.
- Delay before bonding: Final adhesive restorations are typically delayed 7–14 days after bleaching to allow residual peroxide to dissipate and restore normal resin bond strength.
Technique comparison
| Technique | Setting | Agent concentration | Patient role | Best for |
|---|---|---|---|---|
| Walking bleach | In-office placement, patient goes home | Low to moderate | Passive between visits | Most post-root-canal discoloration cases |
| Inside-outside bleaching | In-office + at-home tray | Moderate | Active tray use at home | Cases needing combined internal and external action |
| In-office intracoronal | Entirely in-office | Higher, under strict isolation | Passive | Faster results, more controlled environment |
Inside-outside bleaching combines an intracoronal agent with a custom tray the patient wears at home, which means it depends on your compliance with the tray schedule. In-office techniques use higher concentrations under strict isolation and can produce faster results, but they require careful monitoring given the higher peroxide levels involved.
Timeline: Most patients complete the active bleaching phase in 2–4 visits over 2–6 weeks, followed by a monitoring period before the final restoration is placed.
Which bleaching agents are used and how they compare
The three main agents in intracoronal bleaching are sodium perborate, carbamide peroxide, and hydrogen peroxide. Each releases active oxygen that breaks down the chromogen molecules responsible for the dark staining inside the dentin.
| Agent | How it works | Typical use | Risk profile |
|---|---|---|---|
| Sodium perborate + water | Releases low-level hydrogen peroxide slowly | Walking bleach, conservative cases | Lower resorption risk; preferred in modern practice |
| Carbamide peroxide | Breaks down into hydrogen peroxide + urea | Walking bleach and inside-outside | Moderate; concentration-dependent |
| Hydrogen peroxide (30%) | Direct, fast-acting oxidizer | In-office, short application | Higher resorption risk at elevated concentrations |
Modern clinical practice has shifted clearly toward lower-risk agents. StatPearls notes that sodium perborate mixed with water is now favored over high-concentration hydrogen peroxide because it delivers acceptable aesthetic outcomes with a meaningfully lower risk of external resorption. The 30% hydrogen peroxide protocol can produce strong short-term results, but long-term success declines and resorption risk rises at those concentrations, which is why many researchers recommend avoiding very high concentrations intracoronally.
For patients curious about how intracoronal bleaching compares to the professional vs. at-home external whitening options they may have already researched: external whitening systems work on enamel surface stains. They cannot penetrate the pulp chamber to address dentinal chromogens, which is why they consistently fail for post-endodontic discoloration.
What are the risks, and how does your dentist minimize them?
External cervical root resorption is the complication that gets the most attention in clinical literature, and for good reason. It involves the body’s own cells beginning to break down the root structure from the outside in, near the neck of the tooth. Reviews report incidence ranging from 1% to 46% across studies, a wide range that reflects differences in technique, agent concentration, and barrier quality across the cases reviewed.
How risk is minimized in practice
- Cervical barrier: 2 mm of glass ionomer cement or MTA placed precisely at the CEJ level before any agent is introduced
- Lower concentrations: Preferring sodium perborate with water over 30% hydrogen peroxide
- No heat activation: Avoiding thermocatalytic techniques that accelerate peroxide penetration
- Radiographic follow-up: Many clinicians recheck patients every 1–2 weeks during active bleaching and recommend radiographic review during the first year after treatment to catch early resorption
Other risks to know about
Color relapse is possible, particularly with certain agents or if the underlying cause of staining was not fully addressed. Residual peroxide can temporarily reduce resin bond strength, which is why the 7–14 day delay before permanent bonding matters. Transient sensitivity is uncommon in nonvital teeth but can occur if the barrier is imperfect.
Pro Tip: After your bleaching is complete, keep your follow-up appointments. Early resorption detected on a radiograph is manageable. Resorption found late, after symptoms appear, is much harder to treat.
What results can you expect, and how long do they last?
For teeth discolored by trauma or pulp necrosis, internal bleaching produces meaningful shade improvement in most cases. The results are not always as dramatic as whitening a vital tooth, and they are not permanent, but for many patients the improvement is significant enough to avoid a crown.
- Teeth stained by blood breakdown products after trauma tend to respond well
- Staining from certain endodontic sealers or metallic compounds is more resistant and may require material removal before bleaching can work
- Color relapse is possible over months to years; some patients need a touch-up treatment
- Long-term success with 30% hydrogen peroxide protocols specifically tends to decline over time, reinforcing the preference for lower-concentration agents
- A final composite bonding, veneer, or crown is often recommended after bleaching and tissue stabilization to fully restore the tooth’s appearance and protect the access cavity
- Timing matters: the final adhesive restoration should be delayed 7–14 days post-bleaching, or an antioxidant protocol should be used, to restore normal resin bond strength
The most realistic framing is this: internal bleaching is the first step in a staged restorative process, not a single-visit fix. Bleach first, monitor, then restore. Patients who understand that sequence tend to be more satisfied with their outcomes.
How does internal bleaching compare to external whitening and other options?
This is the question most patients have when they first come in with a darkened post-root-canal tooth.
When restorative options are the better choice
- The tooth has significant structural loss and needs a crown regardless
- Metallic staining persists after material removal and bleaching attempts
- Bleaching reaches a plateau and the shade still does not match adjacent teeth
- The patient wants a single-visit solution with predictable, durable color stability
Side-by-side comparison
| Option | Invasiveness | Cost range | Color durability | Best for |
|---|---|---|---|---|
| Internal (intracoronal) bleaching | Minimal (no tooth reduction) | Lower | Moderate; relapse possible | Nonvital teeth with trauma/necrosis staining |
| External whitening (professional) | None | Low to moderate | Moderate | Vital teeth with surface or enamel staining |
| Composite bonding | Low | Moderate | Good with maintenance | Minor shape and color correction after bleaching |
| Porcelain veneer | Moderate (enamel reduction) | Higher | Very good | Persistent discoloration after failed bleaching |
| Crown | High (significant reduction) | Highest | Excellent | Structural loss, severe staining, or bleaching failure |
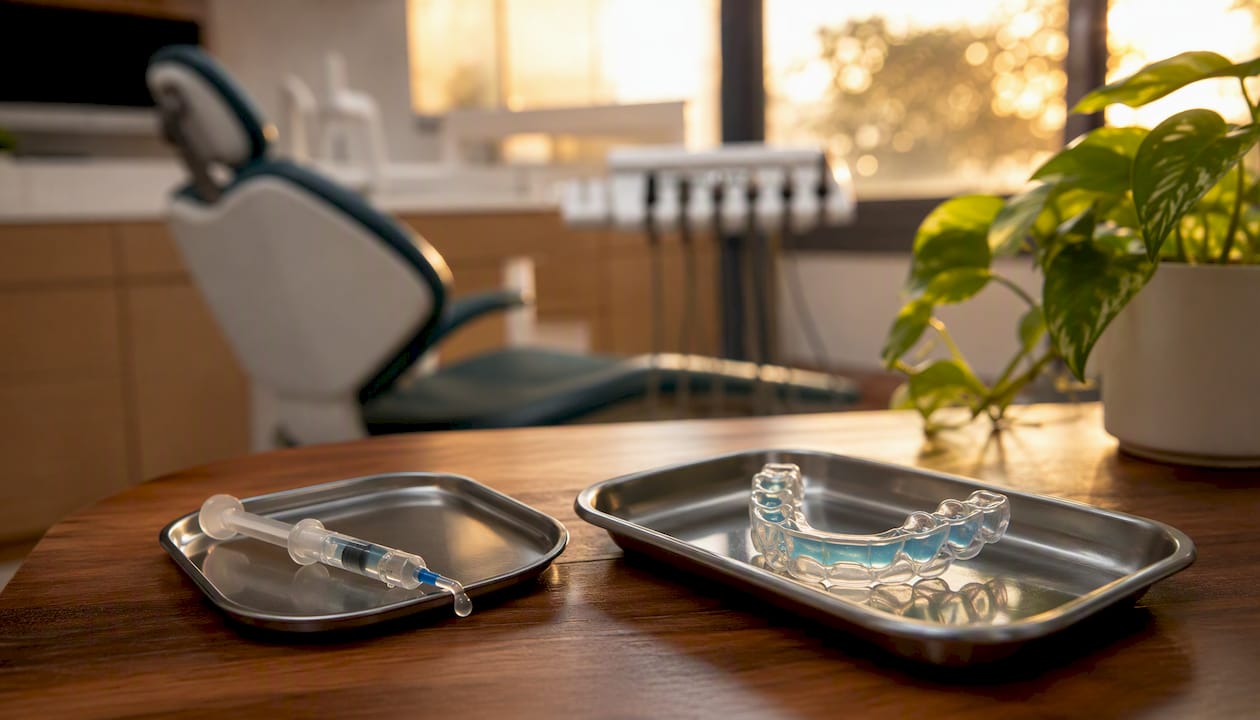
External whitening methods, including professional tray systems and in-office treatments, target enamel surface stains. They will not reliably fix intradentinal staining from a nonvital tooth because the chromogens are inside the dentin, not on the surface. Internal bleaching is also significantly more conservative and lower cost than crowns or veneers, which require removal of healthy tooth structure. That conservatism is a real advantage when the tooth is otherwise structurally sound.
For patients exploring their options, understanding causes of tooth staining is a helpful starting point before deciding between bleaching and restorative routes.
The evidence behind internal bleaching and how we approach it at Clayton Dental Studio
The clinical evidence for the walking bleach technique is well-established. StatPearls (NCBI) documents predictable shade improvement for trauma- and necrosis-related staining, while also clearly identifying the resorption risk tied to higher peroxide concentrations. Published clinical follow-up data consistently shows that barrier quality is the most modifiable factor in reducing that risk.
At Clayton Dental Studio, our approach to intracoronal bleaching follows that staged framework closely:
- Comprehensive assessment including periapical radiographs before any treatment begins
- Confirmation that the existing root canal is adequate and periapical tissues are healthy
- Conservative walking bleach protocol using lower-concentration agents (sodium perborate with water as the first-line choice)
- Strict cervical barrier placement with glass ionomer or MTA at the CEJ
- Scheduled follow-up every 1–2 weeks during active bleaching
- Radiographic review during the first year post-treatment
- Final restoration planned only after the shade has stabilized and tissue health is confirmed
Dr. Navneet Kamboj earned her DDS from the University at Buffalo and completed a restorative preceptorship at UCLA. She has been serving the greater Houston area for nearly a decade, with a focus on minimally invasive cosmetic and restorative care. If you have a tooth that darkened after root canal therapy and want to know whether internal bleaching is right for you, a consultation is the right first step.
Key Takeaways
Internal tooth bleaching is the most conservative, evidence-backed treatment for intrinsic discoloration in a nonvital tooth, and its success depends on proper patient selection, a quality cervical barrier, and a staged restoration plan.
| Point | Details |
|---|---|
| What it treats | Intracoronal bleaching targets intrinsic discoloration inside nonvital, root-canal treated teeth — not surface stains. |
| Main risk and prevention | External cervical root resorption (reported 1%–46% across studies) is minimized by a precise 2 mm cervical barrier at the CEJ. |
| Typical timeline | Most patients complete treatment over multiple visits spanning a few weeks, with a delay before the final adhesive restoration. |
| Agent choice matters | Sodium perborate mixed with water is the preferred first-line agent; 30% hydrogen peroxide carries higher resorption risk. |
| Clayton Dental Studio | Offers conservative walking bleach treatment in Humble, TX, with full assessment, radiographic follow-up, and restorative finishing. |
What patients often overlook about internal bleaching
Most articles on this topic focus on the technique and the risks, which is appropriate. But the part that gets underplayed is the expectation gap between what patients imagine and what the procedure actually delivers.
Patients often come in hoping internal bleaching will make a darkened tooth look exactly like the teeth next to it, in one visit, permanently. That is not how it works, and setting that expectation clearly at the start is one of the most important things a dentist can do. The procedure is staged. It takes multiple visits. The result may be a significant improvement rather than a perfect match. And a final bonding or crown may still be part of the plan.
What I find patients appreciate most, once they understand the process, is that we are starting with the most conservative option. We are not drilling down a healthy tooth for a crown before we have even tried bleaching. That matters, both for the tooth’s long-term health and for the patient’s peace of mind.
The other thing worth saying plainly: the cervical barrier is not a technicality. It is the difference between a procedure that is safe and one that can cause serious root damage. Patients deserve to know that, and they deserve a dentist who takes it seriously. At Clayton Dental Studio, it is a non-negotiable part of the protocol, not an afterthought.
If you have questions about whether this procedure is right for your tooth, please ask. There are no wrong questions in a consultation, and the more you understand going in, the better the outcome tends to be.
Ready to find out if internal bleaching is right for your tooth?
Clayton Dental Studio offers the full pathway for post-root-canal discoloration treatment in Humble, TX: from the initial radiographic assessment through conservative walking bleach treatment, scheduled monitoring, and cosmetic finishing with bonding or crowns when needed. You do not need to coordinate between multiple providers or figure out the sequence on your own.
Dr. Kamboj and the team accept most major dental insurance plans for covered procedures, and financing options are available for cosmetic treatments. For your first appointment, bring any records from your previous root canal treatment if you have them. That information helps us assess the existing root filling and plan your care more efficiently.
To schedule a consultation or learn more about our cosmetic and restorative dental services, visit us at Clayton Dental Studio in Humble, TX, or reach out through our website. A brighter, healthier-looking smile is a conversation away.
Useful sources and further reading
The claims in this article are grounded in peer-reviewed clinical literature. The sources below are the core references for patients who want to read deeper.
| Source | What it covers |
|---|---|
| Internal Tooth Whitening — StatPearls, NCBI | Comprehensive clinical review of indications, techniques, agents, and complications |
| Cervical barrier and resorption risk (PMC) | Evidence on barrier placement and its role in preventing external cervical resorption |
| Walking bleach follow-up practice (PubMed) | Clinical follow-up scheduling and monitoring recommendations |
| Long-term outcomes and 30% H₂O₂ (ScienceDirect) | Long-term success rates and resorption risk with high-concentration hydrogen peroxide |
| Adhesive bonding after bleaching (ISJ) | Evidence on residual peroxide, bond strength reduction, and timing of final restorations |
| Clayton Dental Studio — teeth whitening services | Local service details and consultation booking for Humble, TX patients |
This article is for general informational purposes only and does not constitute professional dental or medical advice. Please consult a licensed dentist to evaluate your specific situation and confirm whether internal tooth bleaching is appropriate for you.
Recommended
Ready to Schedule Your Appointment?
Dr. Kamboj and the Clayton Dental Studio team are here to help. Call us or book online today.